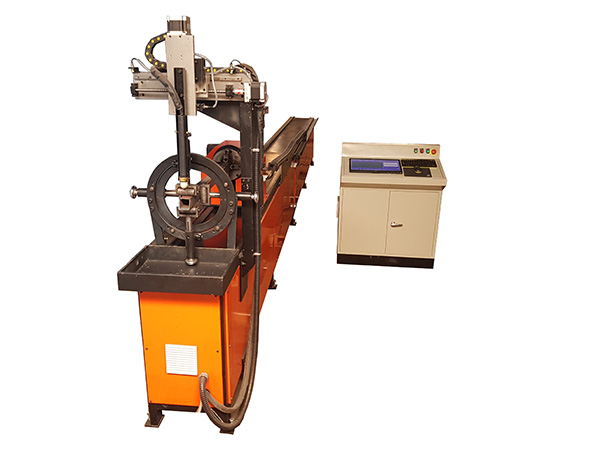
Laser cutting is considered a great invention of the mechanical industry. With evenly sliced, beautiful and especially millimeter-accurate, laser cutting machines promise to bring beautiful, quality and satisfactory products. In the process of using and operating the laser cutting machine, the worker must have enough skills and knowledge as well as a certain spirit of technical passion. In this article, we will learn the steps to operate laser cutting machine in a simple way.

Step 1: Equip a laser cutting machine
To meet the exacting needs of mechanical processing, it is best to equip yourself with a laser cutting machine. However, the price of a laser cutter is quite expensive nowadays. For small businesses, with less mechanical processing needs, you can choose to hire laser cutting machines or look for a cheap laser cutting machine.
Step 2: Create an image, pattern or anything you want to cut
Laser cutters are smart machines that can create anything with a pattern you want to cut from any source. In the next step of operating the laser cutting machine, you need to prepare the pattern or detail you want to cut. Next, you need to upload to the server connected to the laser cutter.
Step 3: Select cutting engraving materials
After you have the pattern, you need to choose your cutting material. Do not be too worried when choosing materials because laser cutting machines are intelligent cutting machines that can handle many different cutting materials from non-metal to metal. Please select the material suitable for the product and make sure to test before cutting.
Step 4: Check the laser machine lens
When you have completed all the cut files, check the condition of the lens because if the lens is not working properly, the quality of the cut material will be affected. Ideally, you should disassemble both the cutting head assembly and the test. In case the lens is dirty or cloudy, please clean it carefully.
Step 5: Proceed to start up and install the processing request
After thoroughly examining the lens in step 4, it is time for us to start operating the machine. First of all, you need to turn on the device and wait until it warms up, the device is ready. Next, you need to find the file that saved the image you processed in step 2 and select the "print" command. On the screen, the menu will appear for you to choose the type of processing, there are 2 typical types of processing are "Raster" and "Vector". Raster is used in case you want to replicate the pattern and vector is used in case you want to cut the template out of the cutting material.
Step 6: Set the cut line and proceed to cut out carving pattern
You should set the cutting line according to the instructions with the width and processing speed based on the manual of each machine to suit each type of material used. Once all the options have been set, you can select the preview mode and then proceed to cut to ensure the cuts are made correctly.
